
37m
How I Do Skin
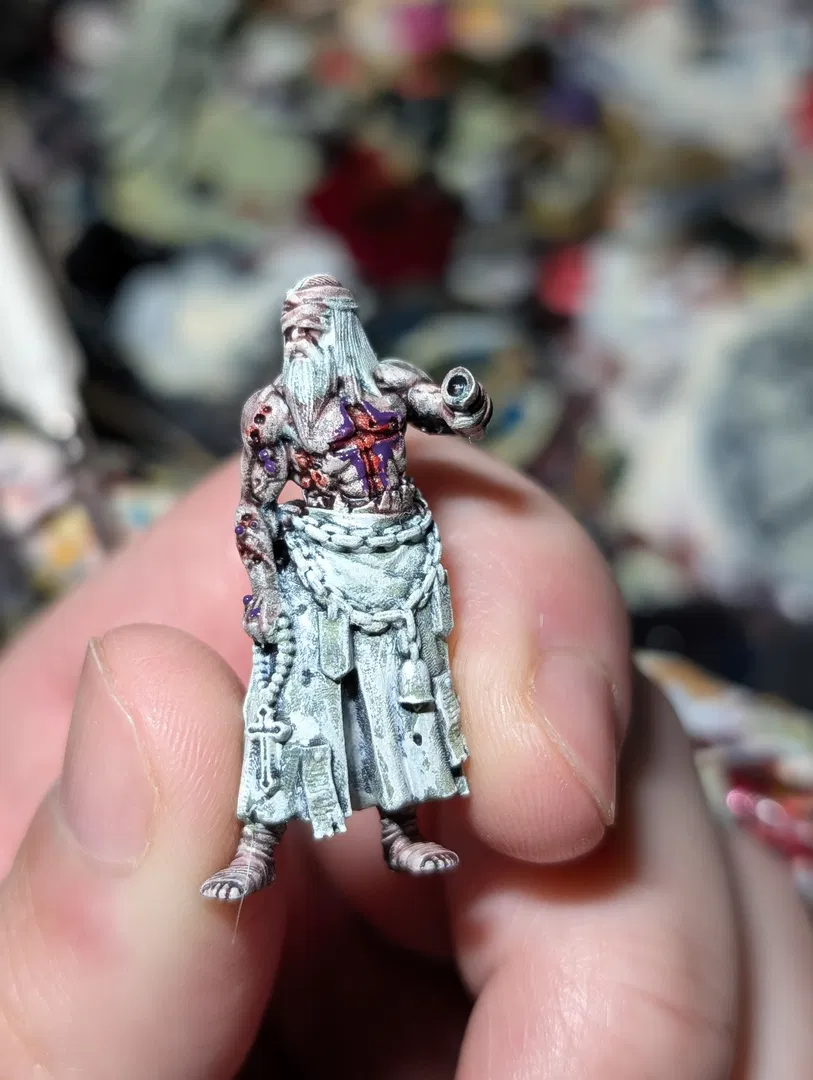
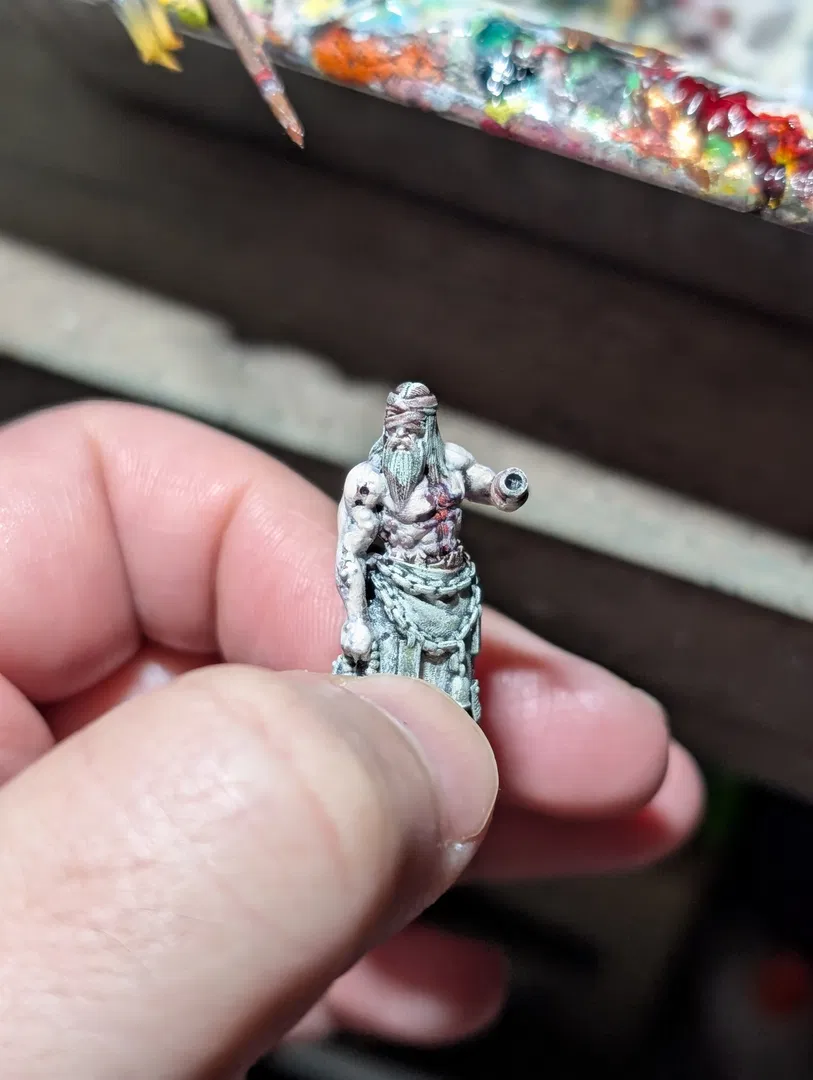
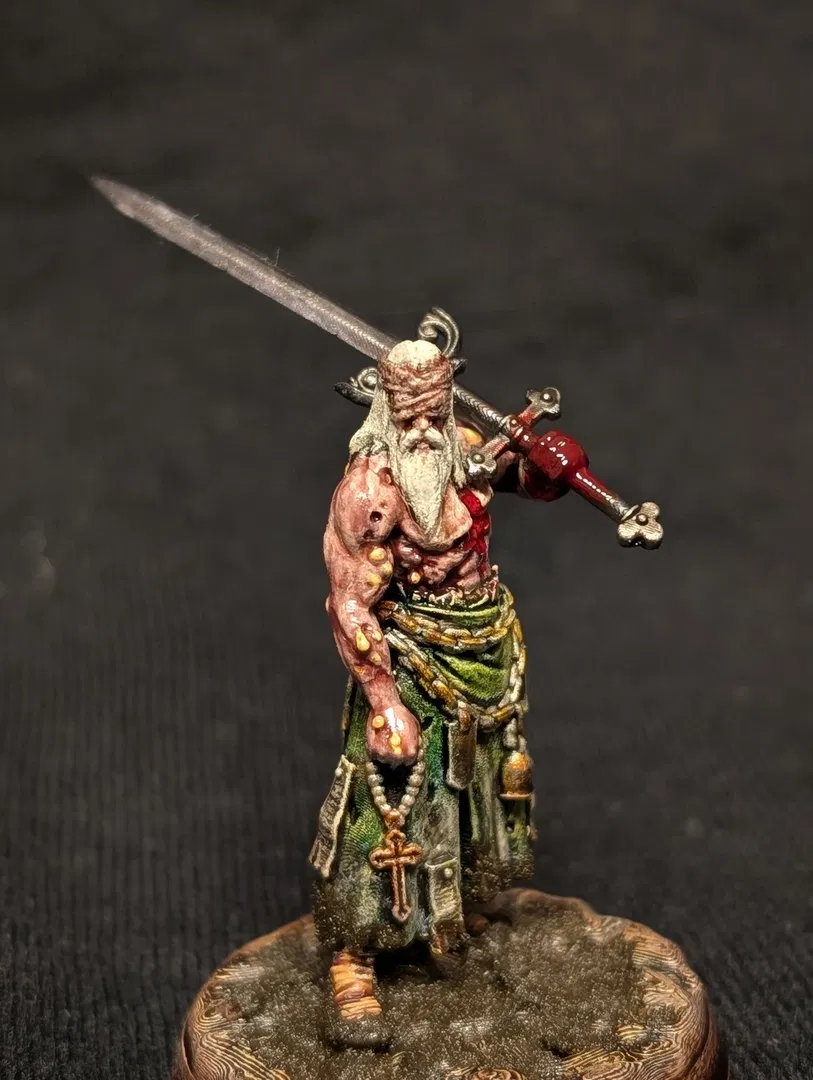
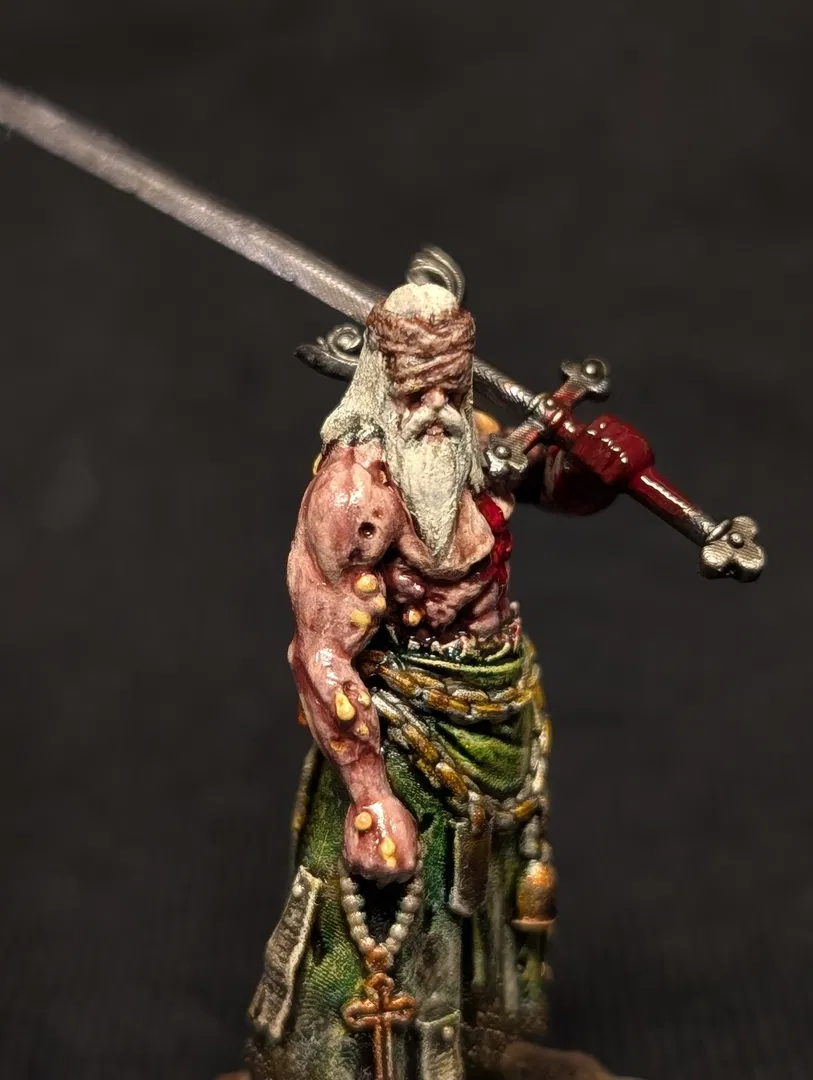
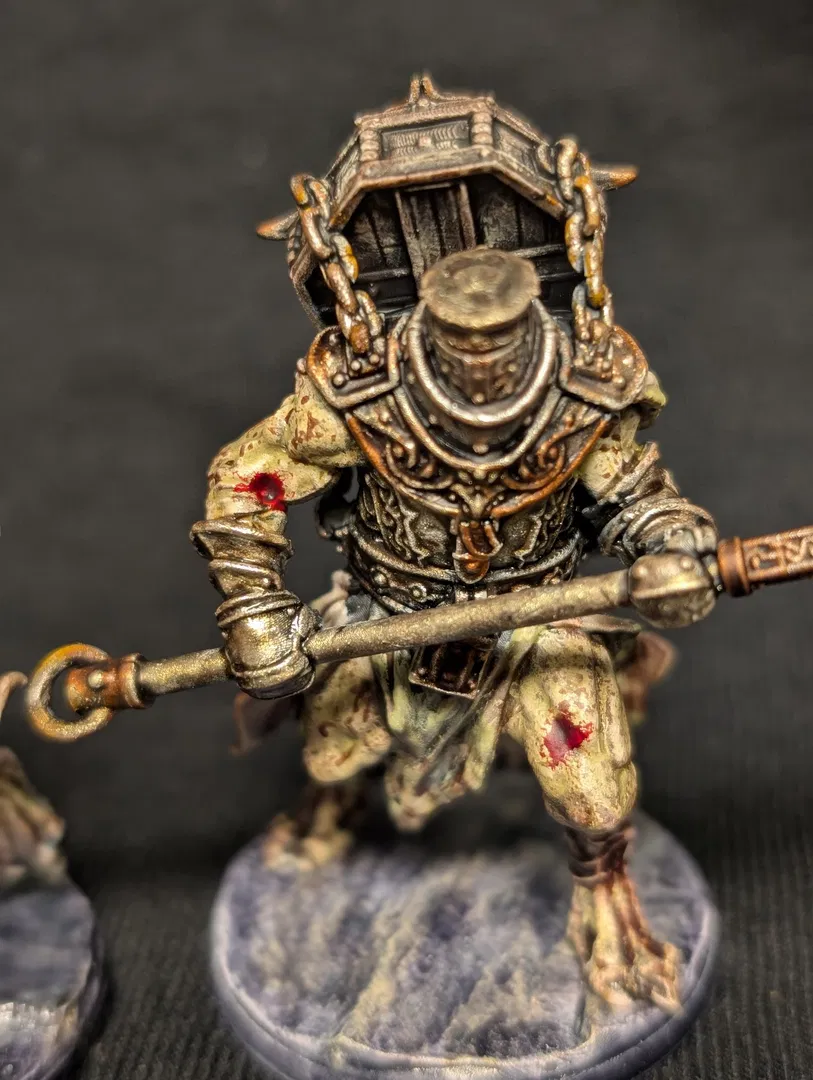
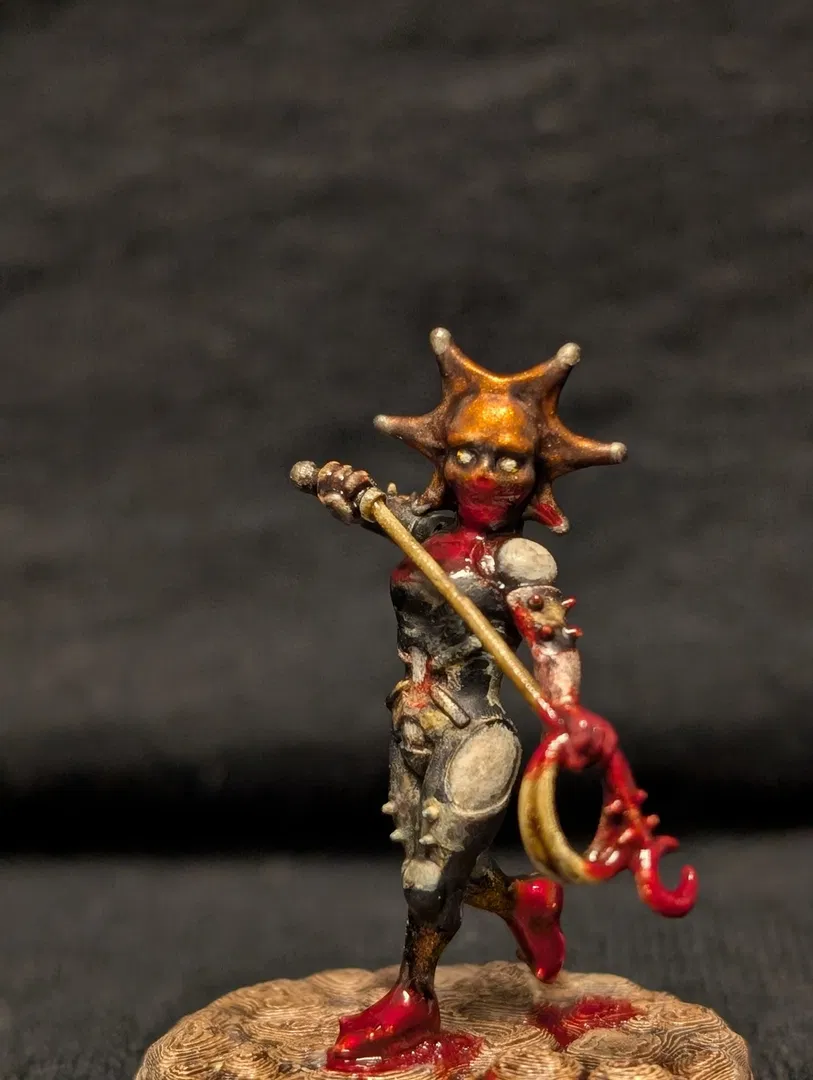
Aight, so painting flesh and skin can be a challenge in the field of miniatures. For most applications a flesh colored paint and a pass of wash will sell the effect for tabletop applications. However, when you look at some of the professionals playing around with volumetric shading/underpainting/unique material usage...it makes you wonder. I'm going to try and explain the workflow I found works for me. If you like it and think it could work for you, please steal this process. Chop it, modify it, use it, just go for it. If you hate it and think it's crazy well that's just fine too. I was initially inspired by seeing PVA techniques from Grimdark Compendium and I initially played around with using thinned PVA(Elmer's in my case) as a mid level layer on skin effects. It added a bit of surface variation in the skin, and absolutely is a viable technique. I did my skin layer, did the glue, and thinned flesh color over top of it. Ivar, the Runic Warrior follows this method. I additionally experimented with chipping medium for a communicant that seems to be able to communicate torn and burnt skin, however that's situational in my opinion. I ended up developing this workflow, and it can be seen The Seven Headed Sorcerer and onward in my gallery. First thing is the base coat: dark speed paint/necrotic flesh or grey/white or off-white. The second and third steps are dry brushed on with a big mop brush and I will lay heavier on my ending coat depending on the sculpt, but especially on skin. I take a wash and then go over the base coat and allow it to dry fully. For diseased flesh I have used a dark green, for normal skin I have used red, or even flesh tone wash. After that point I take an enamel wash (Goon's Grime or Trench Grime in my case) and lay it across all flesh. I have to let this dry and cure for a bit, but then I go over it with whatever flesh color I'm thinking of. Thinning down the acrylic with water causes the paint to react with the enamel and deposits the pigment in interesting ways and places. I'll add as needed, intentionally knocking back areas to let the under coat shine through, and after drying I will highlight as needed with the appropriate color. I'll selectively wash as needed for face details and such before allowing it to dry more. The final part is to re apply the enamel wash afterwards to give a sheen back to the flesh. This also lets the fallout from the enamel deposit where it wants to. If I'm adding blood or other effects the interaction of the paint or additional wash against the acrylics can lead to interesting splatters or spotting. I took inspiration from BrushBarbell and he got me thinking more about my undercoat than the outer layers, and it helped me develop this. So if you made it this far and my rambling hasn't bored you to death, thank you. Again, steal this process, experiment, play around with it, and make it your own way.